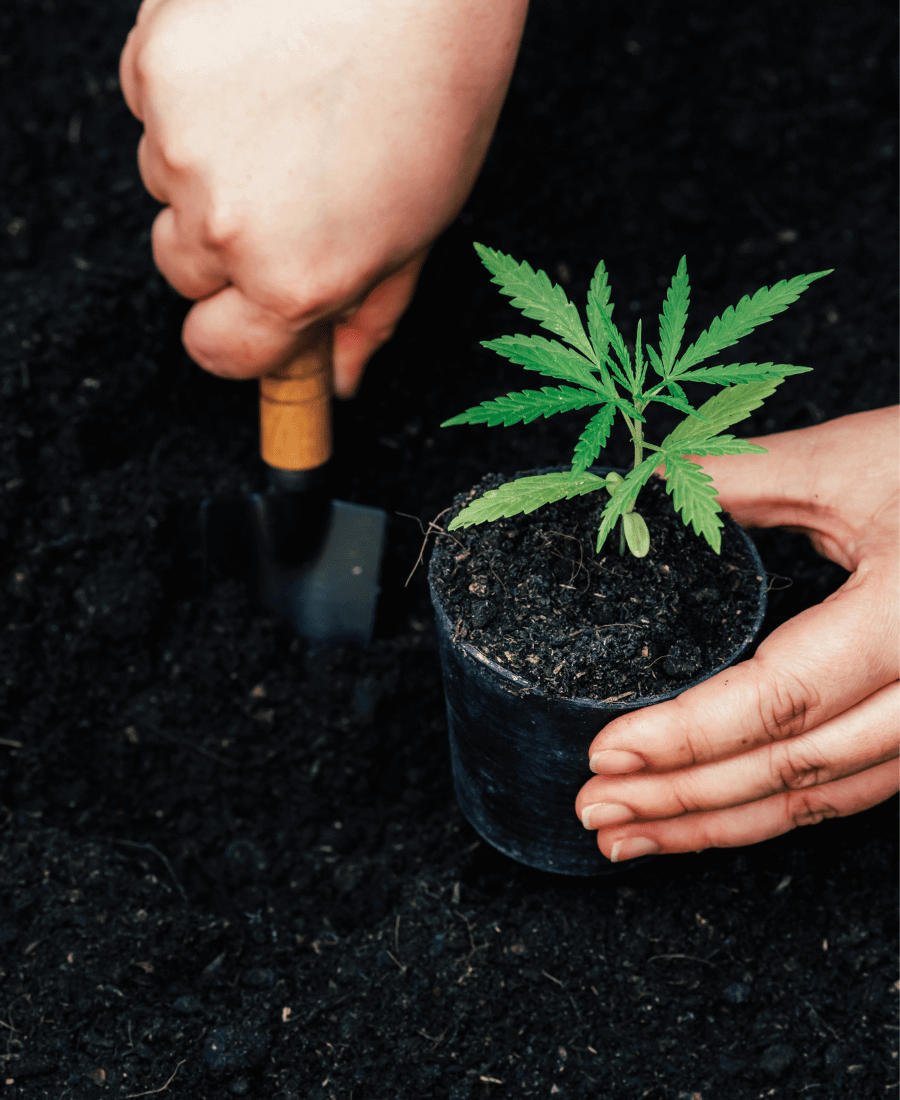
Culling cannabis plants is a proven technique to optimize growth and maximize yield. It involves removing certain shoots and leaves to allow the plant to use its energy more efficiently. If you carefully prune your plants, you can not only ensure better light penetration and air circulation, but also increase the quality of the harvest. This guide explains the basics of cannabis curing, from the right techniques to the best times in the growing cycle.
Do you have to cull cannabis?
Pruning cannabis plants is a technique in which certain shoots and leaves are removed in order to optimize growth. It is not absolutely necessary, but can significantly improve the quality and yield of your harvest. Pinching out is particularly helpful when space and light are limited, such as in indoor cultivation. It directs the plant's energy to the most important areas, ensures better light penetration and promotes healthy development. Even if it requires some practice, the benefits are clear: higher yields and stronger plants.

Culling cannabis plants: step-by-step guide for optimal growth
Curing cannabis plants is an important step in realizing the full potential of your plants. Here you will find detailed instructions to guide you through the entire process.
1. preparation
Before you start topping, make sure you have the right tools to hand. Sharp, clean scissors or a scalpel is ideal for making clean cuts and not damaging the plant unnecessarily. Gloves can also be helpful to avoid contaminating the plant with your hands.
2. choose the right time
The best time to start pruning is during the plant's vegetative phase. At this time, growth is strong and the plant can recover well from the cuts. Ideally, you should start as soon as the plant has developed at least four to six nodes, as it is then strong enough to withstand the procedure.
3. identify shoots and leaves
Take a close look at the plant and identify the side shoots that grow in the internodes (the spaces between the main nodes). These shoots draw energy away from the main branches and can hinder the development of the main buds. Large, shady leaves that cover the lower parts of the plant can also be removed.
4. carefully remove shoots
Carefully cut off the unwanted shoots with scissors or a scalpel. Make sure you cut as close to the trunk as possible without damaging the main structure of the plant. Only remove a few shoots at a time so as not to stress the plant too much.
5. monitoring after thinning
After pruning, you should monitor the plant regularly to ensure that it is recovering well. The plant may grow a little slower in the first few days, but this is normal. Make sure that the cutting sites remain clean and show no signs of infection.
6. care and further measures
After you have thinned out the plant, it is important to continue to provide it with optimal conditions. Make sure it receives sufficient light, water and nutrients to heal the wounds and continue to grow strongly. If necessary, you can repeat the thinning process in one to two weeks to remove any more unwanted shoots.

To cull cannabis or not?
When cultivating cannabis, the question often arises: to prune or not? This decision can have a major impact on the yield and health of your plants. Here you will find an overview of the most important advantages and disadvantages to make your decision easier.
Advantages of thinning out
-Higher yield: By selectively removing shoots, the energy is concentrated on the main inflorescences, resulting in larger and denser flowers.
-Better light penetration: Pinching out ensures that more light reaches the lower parts of the plant, which promotes the growth of the entire plant.
-Improved air circulation: Less dense leaves and shoots lead to better air circulation, which reduces the risk of mold and pests.
Disadvantages of pruning
-Stress for the plant: Removing shoots can cause stress, which can slow down growth if not done properly.
-Time and labor required: Pruning requires regular care and attention, especially for larger plant populations.
-Potential for error: Inexperienced growers may accidentally remove too much, reducing yield or damaging the plant.
Outdoor cannabis curing: How to do it right outdoors
The curing of outdoor cannabis plants differs from indoor cultivation in a number of ways. Outdoor plants have more space to develop, which requires special techniques and considerations when topping. Here's how to do it right to maximize the health and yield of your plants.
1. choose the right time
In outdoor growing, timing is key. Begin topping in the vegetative phase, around mid to late June, when the plant is strong enough. It is important to start early enough to avoid stressing the plant during the flowering phase.
2. selectively remove shoots and leaves
Concentrate on removing shoots that receive little light or grow close together. Make sure that the main branches have enough space and light so that they can grow vigorously. Removing excess leaves improves air circulation and reduces the risk of mold growth.
3. regular inspection
Outdoors, plants are more exposed to the weather and pests. Check your plants regularly and remove extra foliage or damaged shoots if necessary. This will ensure that the plant remains healthy and thrives.
4. gentle approach
When pruning outdoors, it is particularly important to proceed with caution. Do not cut too much at once so as not to overload the plant. Smaller, more frequent interventions are often more effective and gentler.


